Have you been dreaming of giving your flaking bedroom wall a fresh coat of paint? Or have you just moved into a home with a kitchen wall in need of a refresh? Painting your ceilings and walls isn’t difficult. All you need are the right tools and a step-by-step guide on how to paint a room with professional-quality results.
Things You Need Before Painting
Before grabbing that bucket of paint, you need to think about a few things first. For instance, what colour combinations would suit your room? Should you go for a dark or light shade? To help you decide, consider your existing furniture and think about the colours that would complement it.
Some paint companies have tools that give a preview of various paint colours on your uploaded room photo. A useful tip I got is to use a colour capture and picker app. This way, you can take a picture of the colour you want, then let the app find the exact paint code for you. It’s easier than browsing tons of paint chip aisles or fan decks. After selecting the paint colour, paint some samples directly on the wall to see how it changes with the light.
Tools for painting a room
Indoor paints can be water or oil-based. Water-based options are ideal if you want quick-drying paints with fewer fumes. On the other hand, a more durable oil-based paint type will give your room an excellent sheen. Also, if you’re a beginner, this slow-drying paint gives you more time to fix errors.
How much paint do I need to paint a room? You can use this standard: 3.8L of paint per 37m2. But for a more precise count, there are paint calculator apps available, which will also consider your window and door measurements plus two paint coats per project. Now, the painting tools you need depends on your interior, but here are some of the basics for your shopping list:
- Prep: putty knife, filler or spackling paste and sandpaper
- Protection: screwdriver, drop cloths or rosin paper, plastic sheeting, painter’s tape, rags, goggle and gloves
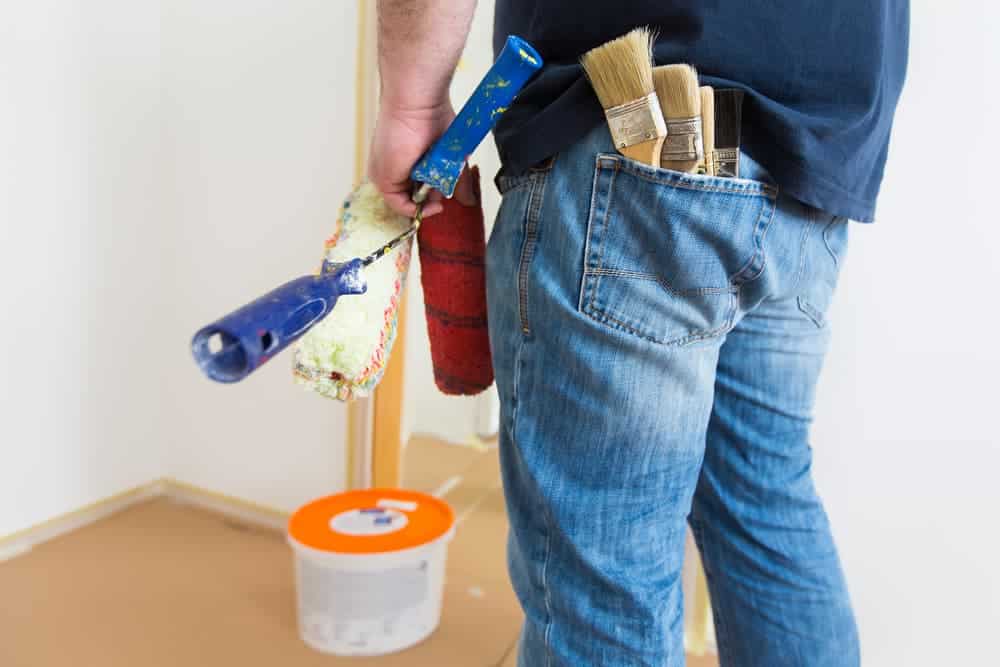
- Painting: primer, paint, paint roller, paint brushes, paint grid and paint bucket
Steps on How to Paint a Room
With your paint and tools ready, time to start rolling up your sleeves and prepare to paint. Follow these steps when painting a room so you can quickly finish your project and minimise wasting valuable resources.
1. Prep the room
Before painting, make sure your room is empty, with most furnishing removed and protected.
- Place lightweight furnishings to a separate room, or if they’re too heavy, move them at the centre of your project area. Remove framed paintings or décor off the walls and roll the rugs, then store them somewhere safe.
- Use a proper screwdriver to remove the light switch and outlet covers. Cover the switches and outlets with painter’s tape. If the room has baseboards, protect them as well with overhanging tape, pressed down on one side by a putty knife.
- Drape plastic sheets on everything that’s left in the room. Lay down canvas drop cloths or tarp on the floor. But for wooden, vinyl or tiled flooring, use rosin paper secured with painter’s tape to avoid slipping accidents.
2. Prep the surface
Freeing your surface from cracks, holes and dents is not the most exciting task of this project, but it’s the most crucial step for a successful paint job. So, scrape away any imperfection, use a filler to cover drill marks and sand it down for a smooth finish. Next, clean your wall with trisodium phosphate (TSP). This cleaner will remove any grease or dust stuck on the wall, which can prevent paint from adhering well. Make sure to read the instructions and wear gloves when working with it.
3. Apply the primer
Open your doors and windows to let fumes out. Turn on the fan if you have one to keep the room well-ventilated and to speed up drying. It’s time to start applying the primer.
Is a primer necessary for repainting walls and ceilings? It’s smart to prime every time you paint, be it new or old wood, concrete, metal or drywall. A primer acts as a sealant on wood and other similar surfaces. It also helps in preventing stains and improving paint adhesion. With proper priming, your paint job stays crack and blister-free for a longer time.
While you can buy paints with primers, it’s best to use a dedicated primer. There are also tinted primers available to match your topcoat. Depending on your product and the weather, let the primer dry completely before painting the surface.
4. Start painting
Now for the fun part, start by painting the ceiling and wall edges, light fixture corners and window and door areas with a paintbrush. Next, pour some paint into a bucket fitted with a paint grid, dip your paint roller, use the paint grid to remove the excess then paint the rest of the surface. Here are a few additional steps on how to paint the wall and ceilings:
- Use 12mm nap rollers for flat walls and ceilings, and 20mm nap rollers for textured surfaces.
- Use the M or W motion when painting with a roller. Start at one corner of the room then go in a vertical direction.
- Rather than a stepladder, attach your paint roller to a telescoping extension pole to help you move better and faster.
- Apply gentle force on the paint roller at the start. Add more pressure when the roller becomes less saturated with paint. Go at a steady pace to avoid splatters.
- Choose a paint grid over a paint tray for faster and easier clean-up.
- Give the first coat time to dry. If the surface needs another coat, apply it following the same painting direction.
5. Clean up
If you need to continue painting the next day, there is no need to wash your used brush or roller. Just place them in a plastic bag then tie it up to keep them from drying out. When the paint is completely dry to the touch, carefully remove the painter’s tape and fold away the drop cloth or rosin paper. Clean your brushes in soapy water if you used water or latex-based paints. For brushes with oil-based paints, mineral spirits or paint thinner should clean it up.
Finally, clean up the room and start putting back your furniture. Remove the plastic sheets, hang your paintings or wall decor and install the light switch covers. After learning how to paint a room, renovating other parts of your home, like your bathroom, should be a welcome challenge!
