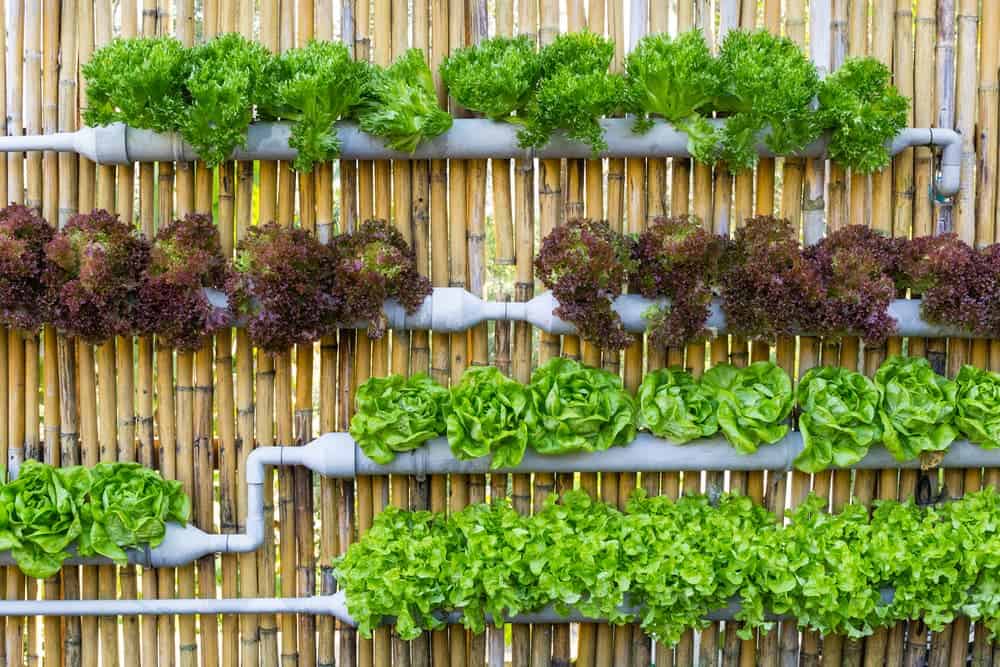
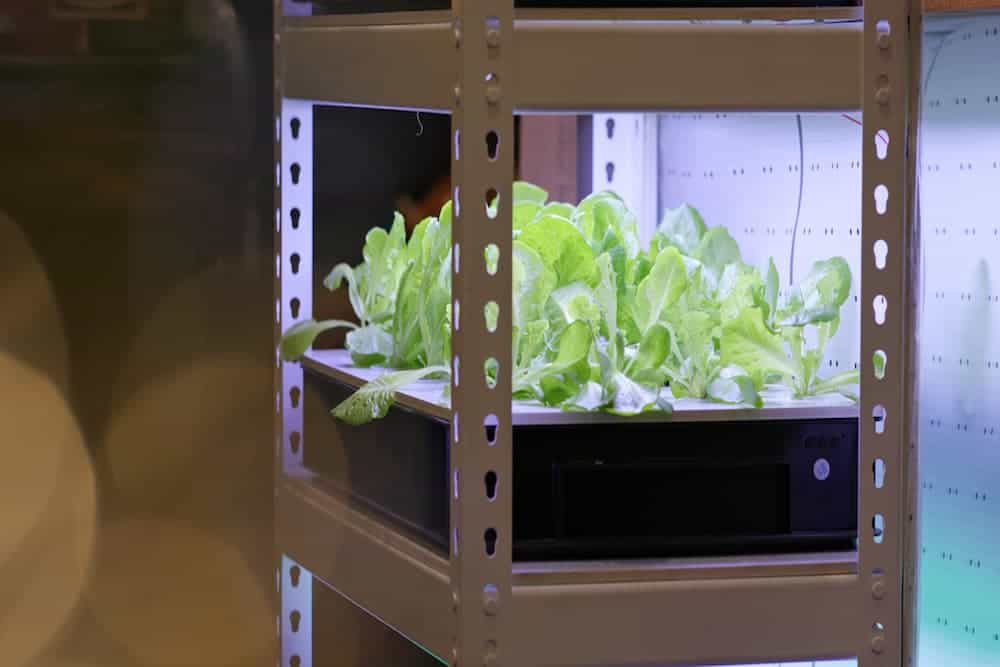
If you do not have enough ground space to start a garden, try the hydroponics system. With this gardening style, you don’t need soil for planting to get a year-round supply of fresh produce. Plus, there are three easy ways how you can set one up at home.
What is Hydroponic Gardening?
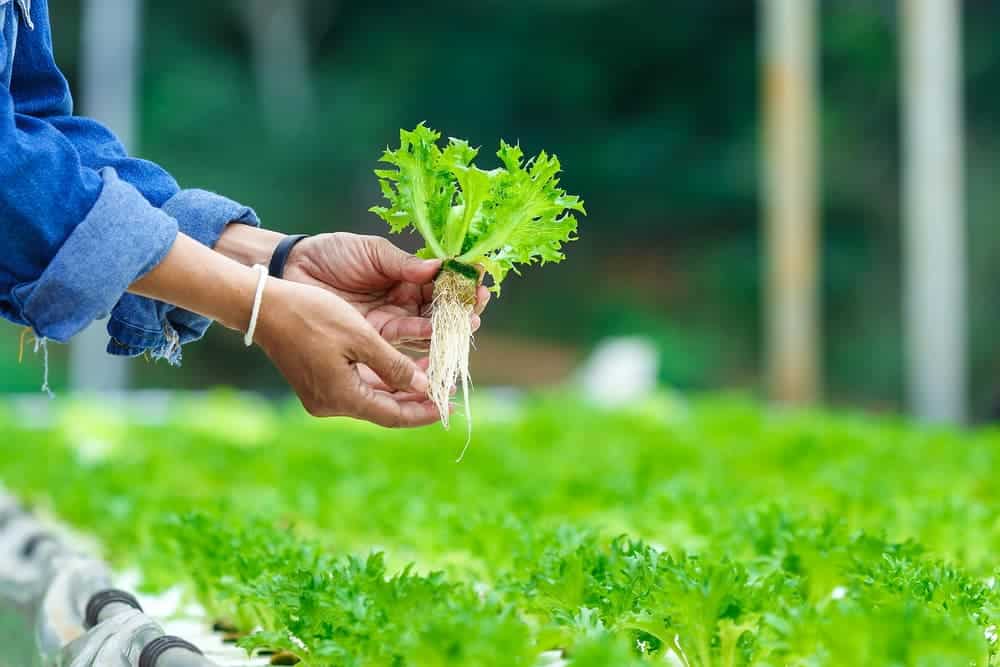
DIY hydroponics gardening requires three essentials to support plant growth: water, nutrient solution and a sterile growing medium. With a hydroponics system, you add nutrients to the water to make up for the lack of soil. The medium then ensures the even circulation of air and nutrients. Examples of which are coconut coir, perlite, gravel and sand. If your hydroponics setup is indoors, you also need artificial lighting in place of natural light.
Without soil, hydroponic gardeners enjoy growing plants free from soil-borne diseases and pests. You get to avoid the use of pesticides, too. Plant roots in soil tend to expand to compete for nutrients. But with hydroponics, concentrated nutrients result in compact plant roots and gardening space. These also mean fast-growing crops with a higher yield.
It’s no wonder why this system is so popular among apartment and urban dwellers. Ready to build one at home? You can choose one of these three methods.
Plastic Bottle Wick System
The wick system is best for first-time hydroponic gardeners as it is the easiest to set up. Also, there is no moving mechanism to manage and maintain. You can also choose to start it on a small scale then expand later on to grow more plants.
This hydroponics system works by letting the wick transfer water and nutrients to plant roots. The wick, however, cannot provide a lot of water. And so, this technique can only support small plants like lettuce and herbs. Here’s how you can try it with empty soda bottles.
Tools and Materials
| Tool | Material |
| 2L soda bottle (good for one plant) | Coco coir and perlite (3:1 ratio) |
| Marker | Water |
| Ruler | Plant food or nutrients |
| Craft knife or cutter and scissors | Lettuce or herb seeds |
| Cutting mat | |
| Screwdriver or hammer with a nail | |
| Candle or lighter | |
| About 60cm of uncoated cotton rope or twine | |
| Stick or skewer for stirring |
Procedure
- Prep the bottle. Measure and mark 20cm from the bottom of the bottle. Then use the cutter to cut around and remove its top.
- Prep the cap and wick. Set the bottle cap on the cutting mat. Heat the end of the screwdriver to make a hole at the centre. Alternatively, use a hammer and nail. Cut about 30cm of cotton rope, then thread it through the bottle cap hole. There should be about 15cm on either side. Keep in mind that the amount of water supply for your plant depends on the thickness of the rope.
- Add your nutrient solution. Fill the bottom section of your bottle with water, about 950ml. You might want to use purified water in case you have a hard tap at home. Add enough nutrient mix to the water, following the manufacturer instructions. Use a stick to stir.
- Assemble your wick system. Place the inverted bottle top onto your container with nutrient and water. The bottle cap should be facing down. Most of the wick should be in the water solution as well. If you want, tape the bottle edges to keep them secure.
- Add your growing medium and seeds. Combine three parts of coco coir and one part of perlite to fill the top of your wicking bottle. Tamp it lightly with your fingers. Next, plant about three seeds (for higher chances of germination) into the medium, following the depth indicated in the packaging. Then place your bottle in a sunny area. When the seeds begin to sprout, choose one plant to grow, then thin out the rest.
You can also repurpose your empty soda bottles into planters. Follow these steps to make a DIY plastic bottle garden and help save our environment!
Deep Water Culture System
If you have a bigger space and want to grow more crops, try the deep-water culture (DWC) hydroponics system. Similar to the wicking technique, there are no moving parts in DWC. Here, the plant roots are in direct contact with nutrient-rich water, while an air pump supplies oxygen.
However, no anchors are holding the roots. So, it will be tricky to use this technique for top-heavy crops like tomato plants. If you prefer the DWC setup, go for basil or parsley and leafy greens like bok choy, Swiss chard, kale and lettuce.
Tools and Materials
| Tool | Material |
| Large plastic container or bucket with lid | Coconut coir, perlite or vermiculite |
| Net pots | Water |
| Air pump with air stone | Plant food or nutrients |
| Marker | Leafy green or herb seeds |
| Ruler | |
| Craft knife or hole saw | |
| Stick or skewer for stirring |
Procedure
- Prep your plastic container. Choose deeper storage containers, if possible, to prevent nutrient and pH fluctuation. Next, trace the bottom of your net pot onto the container lid, then cut around the marked spot to make holes. The holes are for your net pots, so make sure each hole is not too big. Also, if you’re planting more than one plant, the holes should be at least 15cm apart. For buckets, make one hole at the centre to grow a single plant like tomatoes or courgettes.
- Set up your air pump. Use the tubing to connect the check valve and air stone, then attach the check valve to the air pump. The air stone will go into the plastic container to release air bubbles for your plants. The pump, on the other hand, stays out of the bin. You might want to cut a small X slit on the container lid to secure the pump tubing.
- Add your nutrient solution. The container will be too heavy to transfer, so make sure to position it to your designated area before filling it up. Next, fill the container with water, about three-quarters full. You might want to use store-bought purified water in case you have a hard tap at home. Add enough nutrient mix to the water, following the manufacturer instructions. Use a stick to stir.
- Assemble your DWC system. Stick the tubing through the slit, placing the air stone into the reservoir. Next, plug in the air pump and secure the lid on top.
- Add your growing medium and seeds. Fill the net pots to the top with a growing medium. Sow your seeds into it, following the seed package for the planting depth. Finally, place the net pots into the hole.
Tips
You can also use seedlings grown in soil or Rockwool plugs for this hydroponics system. Make sure the water level is not too low. The roots should also be in contact with the nutrient solution. If you need to top up, follow the proper water to nutrient mix ratio. Then replace your reservoir with fresh water and nutrients every two to three weeks.
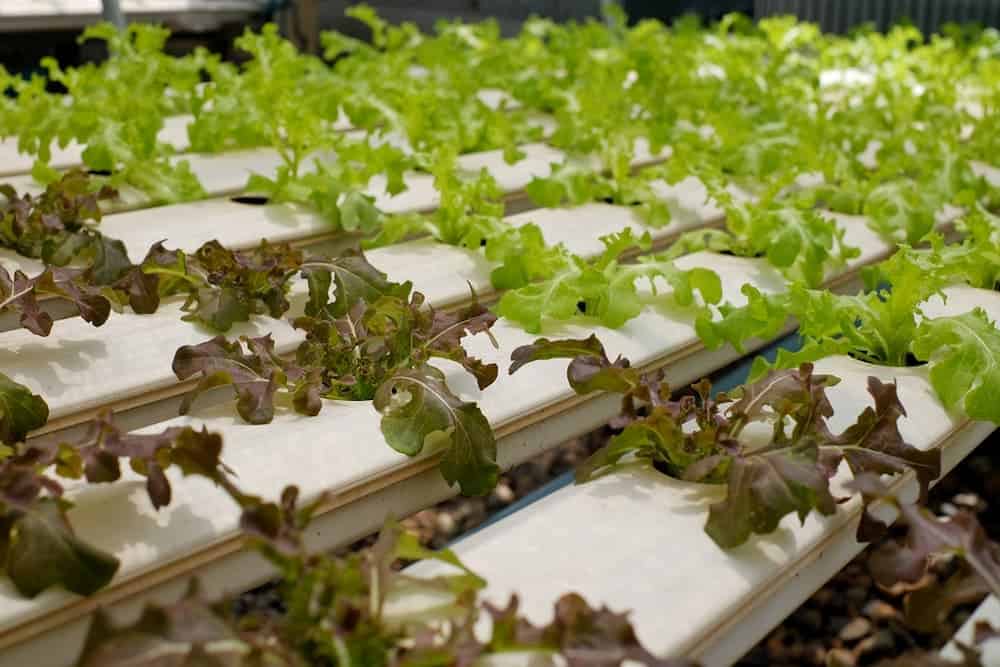
Nutrient Film System
The NFT system is yet another method to start your DIY hydroponic garden. Here, the pump ensures the constant flow of water and nutrients to your growing tray. As you’ll be using PVC tubes for growing, this technique is best for hydroponic plants with shallow roots, like lettuce, radish, spinach and herbs.
Tools and Materials
| Tool | Material |
| 76L plastic container with lid for water reservoir | Coconut coir, perlite or vermiculite |
| Air pump with air stone | Water |
| Submersible water pump | Plant food or nutrients |
| Marker | Leafy green or herb seeds |
| Ruler | |
| Stick or skewer for stirring | |
| 1 PVC pipe with closed ends | |
| 2 stands or sawhorses | |
| Hole saw | |
| Fill and drain tubes |
Procedure
- Prep your water reservoir and pump system. Measure about 5cm from the top of your container. Use the marking to drill a hole, then do the same thing on the other side. Put the air stone inside the reservoir. Next, thread its tubing through the hole and connect it to the air pump. Use the other hole for the submersible pump.
- Add your nutrient solution. Position your container to your designated area before filling it up. Next, fill the container with about 38L of water. You might want to use purified water in case you have a hard tap at home. Add enough nutrient mix to the water, following the manufacturer instructions. Use a stick to stir.
- Build your grow tray channel. Place two stands or sawhorses on either side of your reservoir. Then secure the PVC pipe on top. Trace the bottom of your net pot onto the pipe, then drill holes using a hole saw. Position the holes at least 30cm apart.
- Set up the fill and drain tubes. On the water pump side of your reservoir, drill a small hole at the top of your growing tray. Hole size depends on the fill tube thickness. Connect one end of the fill tube to your water pump, then slip the other end to the hole you’ve made. On the air stone side, drill another hole underneath the growing tray this time. Secure the drain tube to pull water back into the reservoir.
- Add your growing medium and seeds. Fill the net pots to the top with a growing medium. Sow your seeds into it, following the seed package for the planting depth. Finally, place the net pots into the hole, then plug in the water pump.
Tips
You can connect the pump to a timer, then set it to run every two to three hours. Check your grow tray once a week to make sure plant roots are not clogging the channel. Now, if you prefer a hydroponics system with minimal work, our featured list of indoor gardens is also worth checking out!
