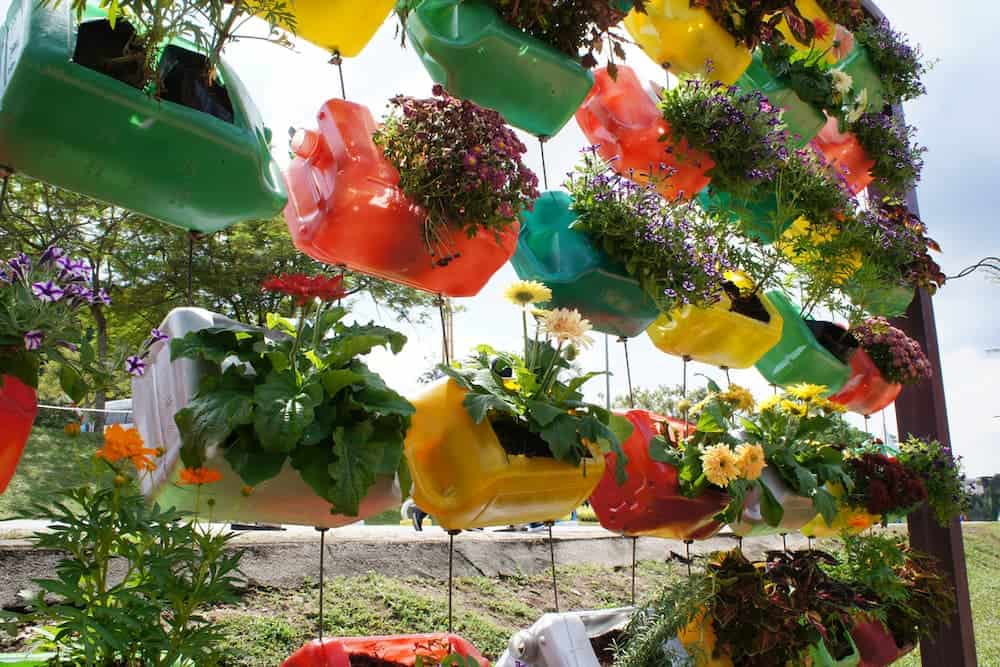
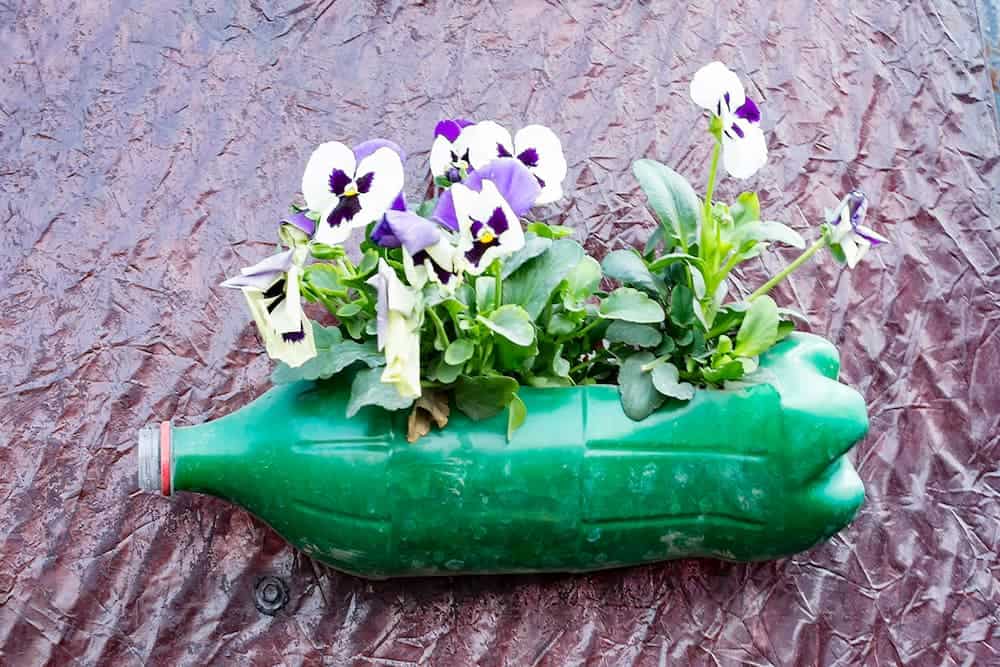
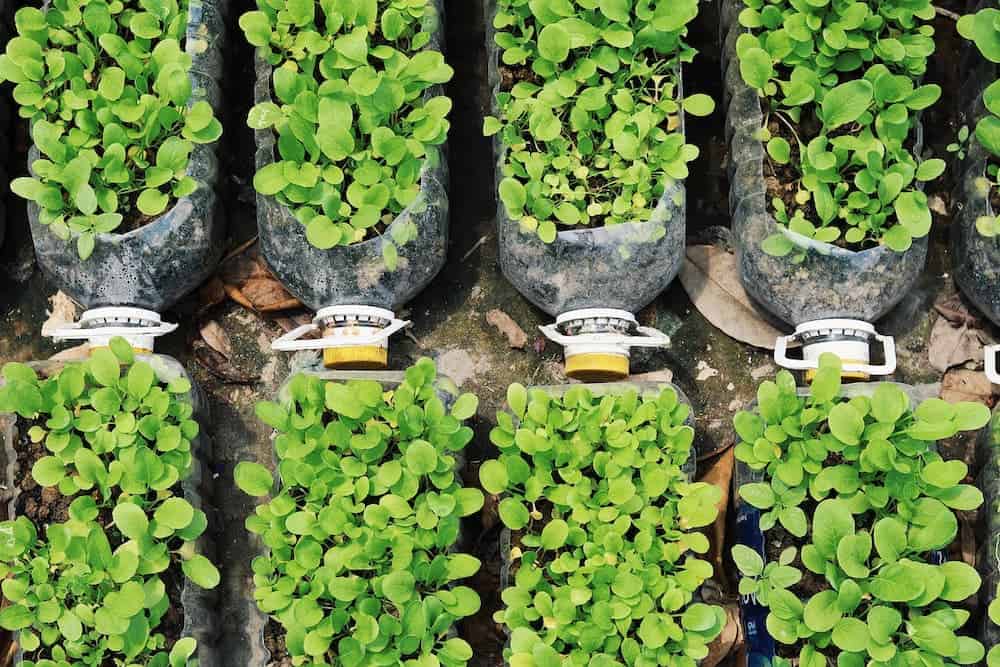
About 3.5 million tonnes of plastic goes to waste each year in Australia alone. That’s a lot of plastic polluting our streets, waterways and oceans. But imagine turning them into something useful and beautiful. Here’s an idea. Why not put your love for gardening and recycling together to create a plastic bottle garden at home? This guide should make this DIY project easy!
What is a Plastic Bottle Garden?
It’s an affordable horizontal or vertical garden idea that uses plastic bottles as planters or pots. It is an excellent alternative for container gardens and very adaptable to small spaces. You can hang these plastic bottle plants or mount them on the wall. Aside from recycling waste and saving space, this type of garden lets you grow all sorts of plants with less watering needs.
Plastic beverage bottles are also more durable than breakable terracotta pots. You can decorate clear plastic bottles or choose coloured ones to brighten up your space. And as you don’t need to spend on planters, expanding your garden is super affordable. Overall, it’s a versatile gardening option with minimal waste and cost.
Factors to Consider
But before you get started with your recycled bottle gardening project, make sure to keep these factors in mind:
- Location. Your plants in plastic bottles should have easy but not direct sunlight access. Plastic tends to overheat when exposed to the sun for a long time, which can dry out your plants. If you’re choosing a shaded area, clear plastic bottles should make it easier for sunlight to flow through. Also, make sure to pick a location that will protect plants from extreme weather elements.
- Material. Choose plastic bottles that are durable and can withstand strong winds or rain. Skip bottles that are too thin or flimsy as these can crack easily under the extreme summer heat. If you don’t have soda bottles, plastic milk bottles are durable options, too.
- Drainage. Your plastic bottles need to have holes at the bottom to avoid excess water from pooling. The position of these drainage holes will depend on your garden design (horizontal or vertical).
- Plant type. Most plants that grow in pots will also thrive in plastic bottles. But make sure to match the plant type with your bottle size. Moreover, go for low-maintenance plants if you have limited garden time.

Plastic Bottle Garden Requirements
There are several ways to create your plastic bottle garden and the tools to make it may vary. For this project, I’ll be using the most basic method, so beginners can also give it a try. Here’s the list of what you’ll need:
- Two-liter soda bottles (number depends on your plant and garden size)
- Cutter and shears
- Screwdriver or nail and hammer (for the drainage holes)
- Ruler
- Marker
- Wire or thin rope (for hanging)
- Pebbles
- Garden soil or potting mix
- Activated charcoal
- Peat moss
- Seeds or seedlings
Steps to Build a Horizontal Plastic Bottle Garden
Once you have your tools ready, you can start creating your garden. Here, I’ve listed the steps for a horizontal garden, where you’ll be using the sides of the bottle for planting. Make sure to wear protective gloves before working!
Collect and prep the bottles
- Remove the labels, then clean the bottles and allow them to dry.
- Lay the bottle, then use your cutter and shears to make a hole for planting. Leave its top and bottom parts intact. At this point, you can paint your bottles if you prefer.
- Next, drill about four to five holes on the other side of the bottle for drainage.
- If you want to hang your bottle, use the ruler and marker to make parallel holes. Then thread the wire or rope for hanging, making knots as needed to secure the bottle.
- Place your DIY planters in your designated plastic bottle garden
Ready the bottles for planting
- Start filling the bottom-most section of the bottle with enough pebbles or pea-sized gravel to help with the drainage process.
- Next, add your nutrient-rich potting or garden soil. Afterwards, add a layer of activated charcoal to reduce foul odour from the bottle.
- You can also add some peat moss on top of the charcoal layer if you want. This one is optional, but it helps in retaining water and nutrients.
Plant and water your seeds or seedlings
- Finally, plant your choice of seeds or plants into your recycled soda bottles.
- Just remember that plant roots need room to grow, so avoid overcrowding your planters. For your 2L bottle, limit it to two small plants.
- Also, position your plants strategically, depending on your chosen garden space and design. For example, if it’s a sunny area, choose sun-loving plants. Then place those that require less water on top as this spot tend to dry up faster. If your plants are not cold tolerant, make planters that are easy to move indoors when necessary.
- Once done, seal the bottle’s lid, then water your newly planted crops.

Best Plants to Grow in Plastic Bottles
Most plants can grow in plastic bottles as long as they don’t turn into large trees. For larger plants, make sure to choose a suitable plastic container for them or have a space for transplanting.
But for a foolproof plastic bottle garden, herbs are your ideal starting point. They are small, easy to grow and edible! Mint, oregano, chives, thyme, parsley, rosemary and basil are some of your best options. You can try growing vegetables, too, like leafy lettuce, microgreens, spinach, cherry tomato, dwarf peppers and radishes. Oyster mushrooms also grow well in plastic bottles.
For ornamentals, crotons, maranta and club moss are excellent options for humid areas. If you prefer flowering plants, try growing impatiens, petunias, wishbone and alyssum. Ferns and vines are great, too. But you might want to add support for your creeper plants to help them grow upwards.
Need more inspirations for your tiny space? Check out these guides for building vertical pallet and upside-down gardens!


