Nothing beats the satisfactory feeling of completing a home renovation project. Stepping into a brand-new space is well worth the effort and long wait for sure. But then there’s post-renovation cleaning work to spoil the moment.
Well, no renovation is complete without leaving dust, paint stains and dirt behind. However, we must clean them up to ensure a healthy and dust-free property.
So, don’t let all the mess rain on your parade. Use this post-renovation cleaning checklist instead, so you don’t miss a spot.
Have the Right Cleaning Tools
Post-construction cleaning is not like your routine house clean-up. This activity aims to protect your property and requires more than removing visible grime. So, it’s likely that the cleaning tools you have at home won’t cut it.
Spend a bit and find the right cleaning tools and supplies instead to avoid renovation problems later on. Of course, your shopping list depends on your renovated space, but here are some essentials you might need:
| Tools | Cleaners | Protective Gear |
| Vacuum and window cleaners | Carpet/window cleaning agents | Dust mask |
| Broom and dustpan | Appropriate floor chemicals | Rubber gloves |
| Mop, mop heads and bucket | Glass cleaner | Goggles |
| Scrubber and cleaning cloth | Furniture polish | |
| Trash bags | ||
| Step ladder | ||
| Drop cloth/tarp cover and tape |
Clean the Top First
Vacuuming as much dust as possible should be your first step. That way, you can significantly reduce the amount of loose material that tend to move around or fly into the air.
Try to avoid vacuuming areas randomly, though. Start from the top and work your way to the sides and down. This strategy will prevent you from spreading dust to places you’ve already cleaned.
Use a step ladder to clean the ceiling. Then make sure to vacuum light fixtures, ledges and door frames, too. Next, grab the broom and dustpan to remove large pieces of debris.
With less dust, it will be easier to clean with soap and water without creating muddy trails.
Wash the Walls and Windows
Even after vacuuming, dust can still cling to the walls. Clean them with a long-handled brush or dry mop. To make this post-renovation cleaning task easy, apply the same top-to-bottom technique, left to right.
However, at times, dry cleaning won’t work for extra stubborn deposits. In that case, combine water and dish soap in a bucket, then use a sponge mop to wipe them away.
Before you do this, try wiping a discreet wall area first to ensure the cleaner won’t stain or damage the paint. If everything’s fine, go ahead and soap the wall, then wipe it dry with a cleaning cloth attached to a mop.
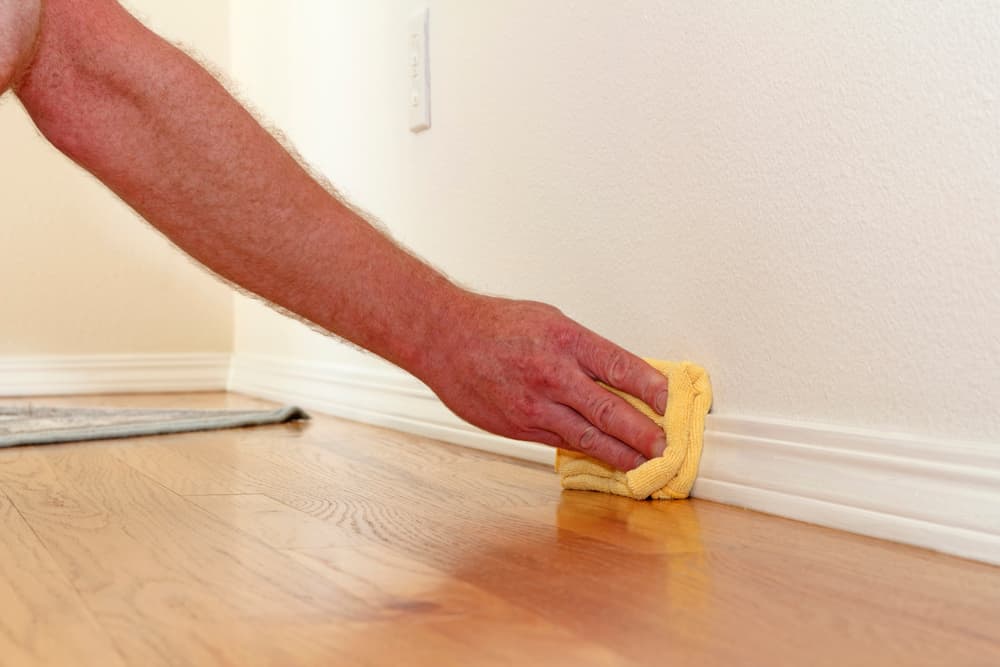
For decorative baseboards or mouldings, use a damp microfibre cloth to remove remaining traces of dust that managed to escape the vacuum cleaner. Then use some glass cleaner to start cleaning dirty windows and frames.
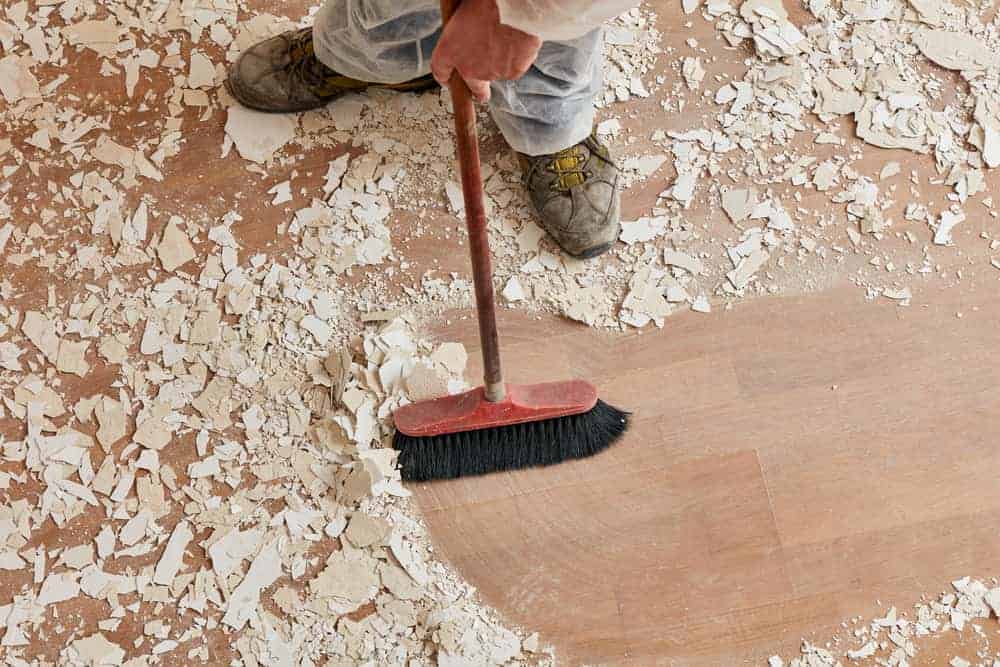
Give Your Floors Extra Care
There’s no fixed cleaning solution for this part as floors need specific cleansers. So, make sure to know the appropriate tools and techniques to prevent surface damage. Here are some post-renovation cleaning essentials to keep in mind.
For cleaning carpets
Use the smaller nozzle or brush-type attachment of your vacuum cleaner to remove ingrained dust from soft surfaces like your carpets or upholstered furniture. It will do a better job of sucking fine wooden splinters from the fibres.
You’ll also need an industrial shop vacuum, then shampoo the carpeted floor to clean carpets thoroughly. It might be impractical to buy cleaning equipment to do these. So, consider hiring professional cleaners for steam or carpet cleaning.
For cleaning hard floors
Remove all construction debris and vacuum the floors first to avoid scratching the surface. Then use a damp mop, not wet, with the proper cleaner to wipe away finer particles.
If you need to renovate your kitchen floors later, you can check out this list of best flooring types, too.

Remove and Wipe Down Air Vents
Fine dust particles from renovation projects tend to settle in hidden areas, like your ventilation system. So, make sure not to forget about this part and risk air quality issues in your space.
To do this, remove the vent cover, wash it in soapy water, then dry thoroughly. Next, vacuum the inside of your air vent and inspect the filters.
Ideally, replace air filters even if they do not look dirty. Also, if they are too filthy to be cleaned, consider booking experienced cleaners to replace them.
Clean All the Extras
Make sure to include the small details on your post-construction cleaning checklist. These include chandeliers, lampshades, electronic devices and similar items.
Use a soft cloth to wipe them clean. Polish wooden furniture as well. You might want to clean cabinets or shelves exterior and, while you’re at it, do some reorganising, too.
Take It Slow
I know. You want to speed up the cleaning process so you can enjoy your freshly renovated property right away. But believe me, it’s best to do things one day at a time.
I also recommend getting all the extra hands to help you out. Assign cleaning tasks to other family members to lessen the workload.
Need more renovation ideas? Consider doing these home improvement projects that boost resale value!
