If your tiled kitchen area needs a quick yet cost-effective upgrade, then a bucket of tile paint is the perfect solution. Painting kitchen tiles is easy with the right tools, a little prep (and patience) plus some D.I.Y. skills. Follow this guide and get ready to transform that hideous patterned tile into something chic and brand new!
How to Start Painting Kitchen Tiles
Learning how to paint tiles doesn’t take much. However, you do have to prepare or purchase a few tools or equipment to do it. You’ll be needing fine-grit sandpaper or sanding block, at least 20mm-wide masking tape, laminate primer, tile paint, roller brush or paintbrush and sealant. Keep in mind, though, that the materials you need depend on the status of your current tiles. Here are a few more reminders:
- Choose the right tiled area. Try not to paint on existing tiles exposed to high traffic or moisture. The paint will only peel away in a few short months. Go for areas like your countertop away from the sink or backsplash next to the stove instead. Your kitchen wall tiles or island is also an ideal surface.
- Purchase the right tile paint. Unlike regular paint, tile paint won’t flake off when applied to glass, porcelain or ceramic tiles. Latex paint is an excellent option as it dries quickly. But for longevity, slow-drying oil paint is ideal. And for ceramic tiles on frequently used areas, epoxy paint is the most durable choice. Whatever you choose, make sure to pick a neutral colour palette and use urethane or epoxy primer for a professional finish.
- Use the right stencil. For unique patterned tiles, consider painting them over with a stencil. It will give you that inexpensive yet trendy finished product with the least bit of effort.
Now, onto the simple steps of painting tiles!
1. Clean and scrub
Before you start painting kitchen tiles, you need to free them from dirt and grease. So, scrub tiles with a detergent solution and scouring sponge. For stubborn residues, you can use a commercial tile cleaning product. Moulds on the grout lines would require hydrogen peroxide or bleach solution (combine bleach and water in 1:10 ratio). Also, you might need to have epoxy glue on hand to fix cracked tiles and get an even surface.
2. Sand the surface
To make the paint adhere, you have to scuff your matte or high-gloss tiles. You can use 240-grit sandpaper to create a rough surface or an orbital sander for large projects. When done, wipe away the sanding dust with a wet sponge or damp cloth then allow to dry thoroughly.
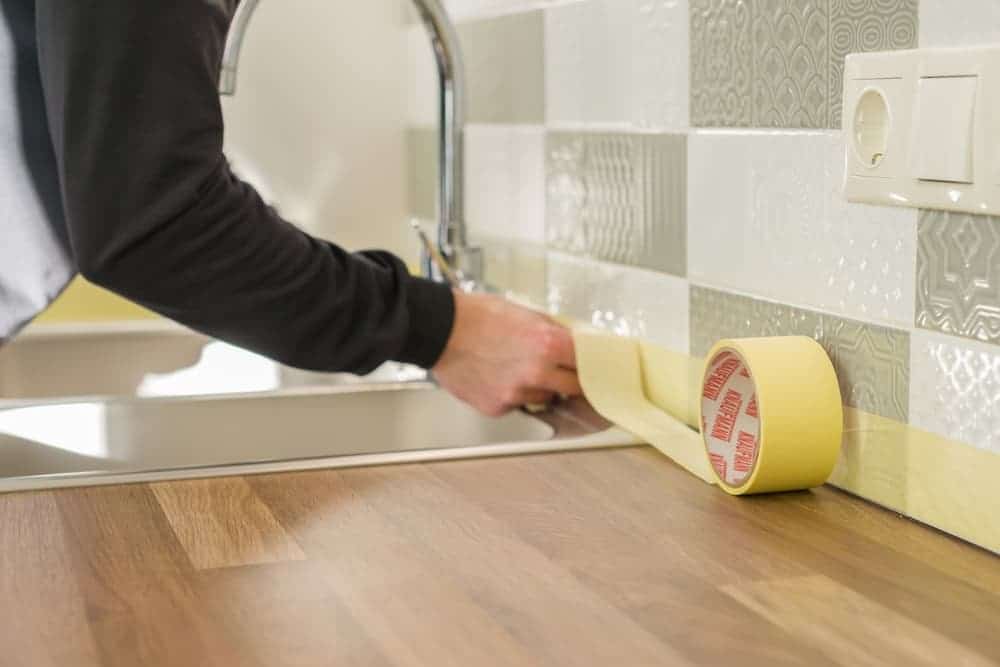
3. Protect the edges
Don’t pick up that paintbrush yet, unless you want to have paint all over the place! Make sure to cover the edges first with painter’s tape. When doing this, use long runs of tape to keep the edges straight and press firmly to prevent bleeding. Next, lay down dust sheets or drop cloths to protect the rest of your project area.
4. Apply the primer
Applying a tile primer to the surface will make your paint job last longer. Use a small brush for the edges and a roller brush for large surfaces. Brush marks can show easily on tiles, so go for thin coats. Also, follow a zigzag pattern with a foam roller, from top to bottom. When done, allow your base coat to dry completely. It should take about 4 hours. After which, lightly scuff it then wipe clean before painting the first coat.
5. Paint the tiles
It’s time for the fun part: painting kitchen tiles! Stir your tile paint thoroughly then pour a small amount to a clean tray. Start painting a thin layer of your first coat with a roller brush, following the same zigzag pattern. Use a small paintbrush to fill in the edges. Let the surface dry for 6 hours before painting the second coat. While waiting, wash your brushes and store them in water until you’re ready to work again.
Squeeze out excess water from your brushes, then give the painted surface a light sand with 600-grit paper and wipe clean. Prep your tile paint and do the same painting technique when applying the final coat. Let the surface dry for a day.
When done, use a grout pen for the grout lines and carefully remove the masking tape. You might need a utility knife to cleanly scrape paint smears before pulling the tape away at a 45-degree angle. Let the surface cure for about 2 to 3 days and protect it from hard knocks. Lastly, apply some sealant then admire your handiwork!
Kitchen Tile Painting Tips
When painting kitchen tiles, these helpful tips will help ensure flawless results:
- Prepare for success. Go the extra mile when cleaning and sanding your surface. The effort is sure to pay off in the end.
- One tile at a time. Do this when painting with stencils. It will help you keep things aligned and precise.
- Less is more. Thick, heavy coats of paint take a long time to dry and will only peel away. Apply several thin coats instead.
- Patience is a virtue. Let the surface dry in between painting steps. It will help save time and effort.
- Go for the gold! Choose your paint well, pay attention to details and apply proper techniques when painting tiles. And when you have the time and resources, give your kitchen a full makeover! These cost-efficient upgrades are sure to inspire you.
