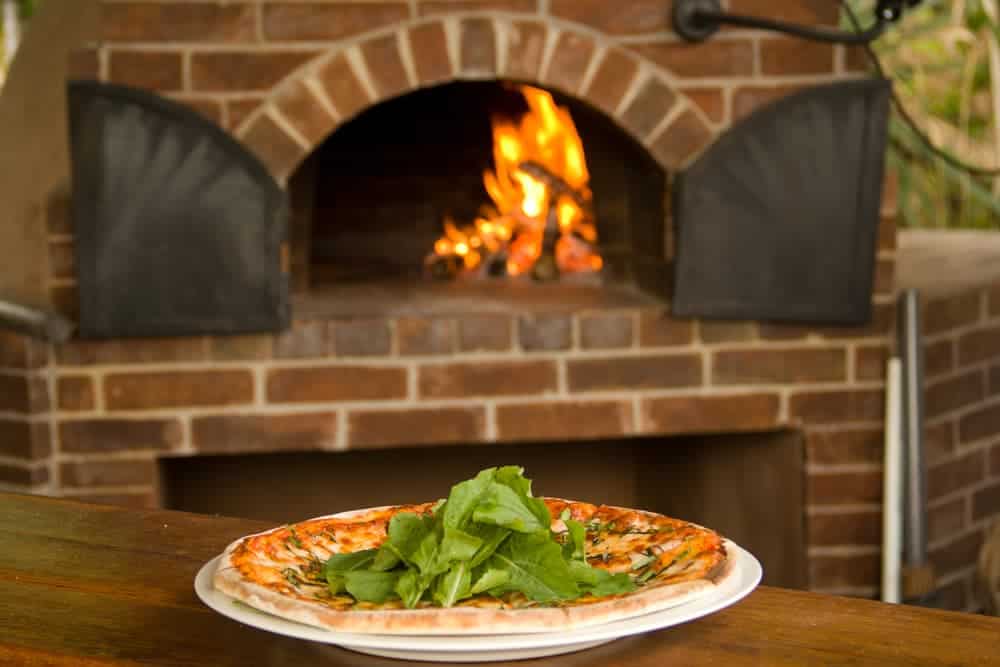
No one can say no to pizza, especially if it’s freshly baked from a wood-fired oven. While you can easily have a box delivered at home, you can also cook one from scratch with a DIY outdoor brick pizza oven. Yes, it will require money, time and backyard space. The construction process can be laborious as well. But this home project can be your multipurpose area for fabulous home cooking and entertaining. Here are the building materials and steps you need.
Outdoor Brick Pizza Oven Materials and Tools
A DIY pizza oven can take various forms. But typically, it is dome-shaped, comes with a chimney and requires bricks and cement. To use it, you need to put in enough wood to start a fire at the back end.
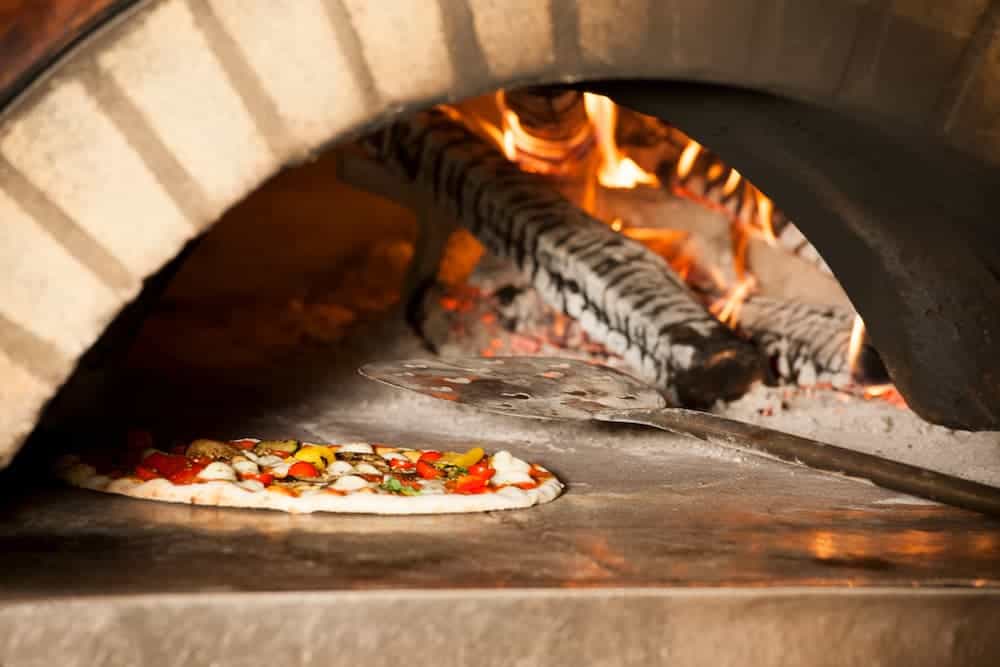
Once you’ve reached the desired temperature, remove the ashes from the oven floor, slide in your pizza or meal, then close the oven door. The dome-shaped cooker should concentrate the heat from the oven wall towards the centre to slowly cook your food.
The construction materials and tools you need for building rely on your brick oven design. But here are some of the basics.
| TOOLS | MATERIALS |
| Cement mixer or large tubs | Concrete mix |
| Cement trowel, grout bag and shovel | Cinder blocks and brick tiles |
| Hammer and nails | Plywood, angle iron and rebar |
| Welder | Oven kit |
| Circular saw | |
| Tape measure | |
| Safety goggles and gloves |
Outdoor Brick Pizza Oven Building Steps
Use this step-by-step instruction as a reference to make the building process easy and quick.
1. Find an ideal location
Base the size of your building site on your pizza oven plan. If you want to integrate your backyard pizza oven with an existing fireplace or grill, make sure you got the dimensions right. Ideally, build it in a sheltered spot like in a patio or terrace. Alternatively, for open or garden spaces, you should have room for a built-in oven roof. More importantly, your location should not be exposed to strong winds or near flammable materials.
2. Build Your Oven Base
Make the necessary measurements to start your concrete foundation. You can use cinder or brick blocks for building it. Some would use the U-shaped design to create a cabinet below for wood storage. Others prefer a solid foundation with an L-shaped form.
Whichever design you choose, remember to fill the holes with cement or mortar. Then use the trowel or grout bag to fill in the spaces. Let the concrete cure before continuing with the next steps.
3. Create the Countertop
You can build your outdoor brick pizza oven top in two ways. One way is to measure your base. Then make the cooking surface separately using concrete with chicken wire sandwiched in between. Use a flat trowel to even it out. Once set, put wet cement on the base edges, then place the concrete counter on top. Fill the gaps with more concrete using a trowel.
The other option is to cut a piece of plywood according to the size of your base. Lay the wood board on top of your oven base, then weld a metal frame around the edges. Next, lay crisscross rebars on top of the wood board, and pour wet concrete. Use a flat trowel to even it out. Let the top cure for a day or wait until dark spots have disappeared.
4. Make the Oven Dome
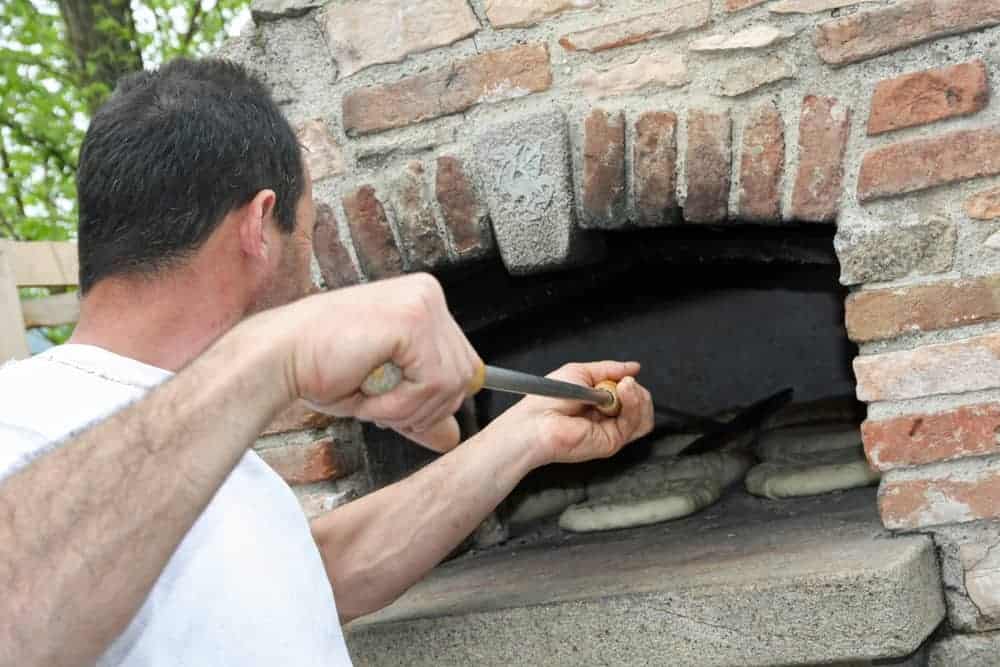
If you are using an oven kit, make sure to follow the instructions on how to assemble your outdoor brick pizza oven parts. But if you’re going DIY all the way, this part will be the most labour intensive. Start by creating the oven wall of your project. You’ll need bricks and wet cement or mortar for this part, as well as clay to insulate the inside.
Next, cut a curved metal bar to size to create a guide for your arch. Use bricks and cement to make the front and back of your dome. Fill in the gaps with clay for insulation. Set vertical metal bars along the top of your oven dome, then place a piece of chicken wire in between. This part will be the foundation of your dome roof. Cover the bars and wire with more clay (inside and out), but leave a small section on top open for the chimney hole.
5. Add the Chimney Flue and Finishing Touches
Finally, cover the dome exterior with bricks joined by wet cement. Use more bricks and cement to form your chimney walls and top. Then make an oven door and weld it onto the arch. You can leave it as is or paint it if you like. Now, it’s time to look for firewood and start baking!
Outdoor Brick Pizza Oven Cooking Tips
We call it a DIY pizza oven, but this home project can do so much more. Your outdoor oven can reach temperatures as high as 500C to cook all sorts of dishes. Use it for baking bread and pastry, roasting meat and poultry, or cooking stews.
After cooking, you can even use the oven’s residual heat to make dried fruits and veggies or keep your coffee warm. An oven thermometer inside should help you keep track of the temperature. Also, you can design an oven with racks. That way, you can cook various dishes at the same time.
Keen for more large home projects? Check out these steps to build a wooden pergola!
